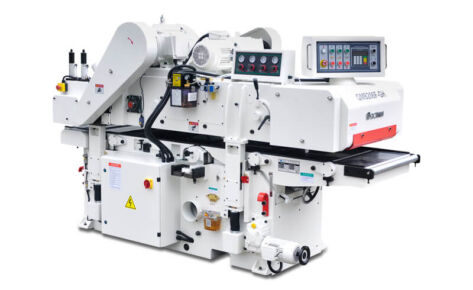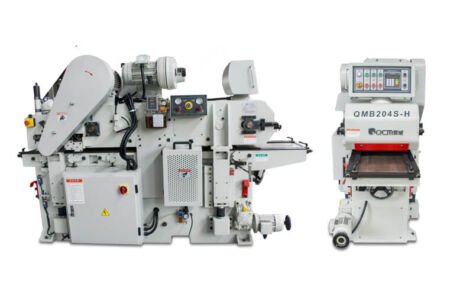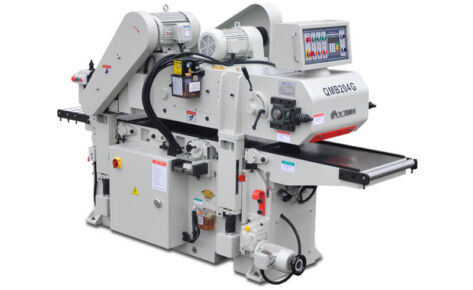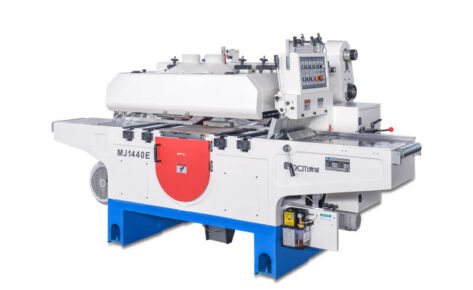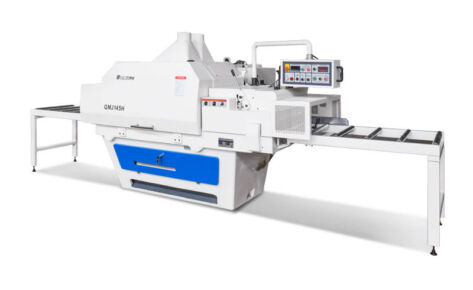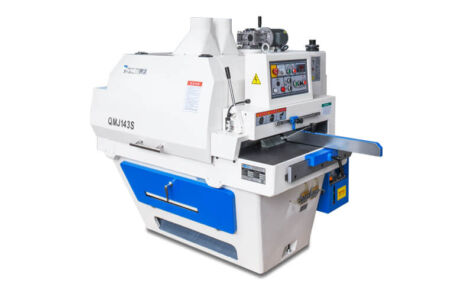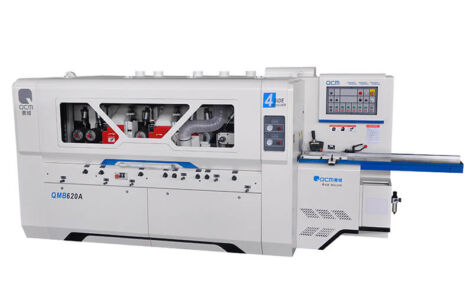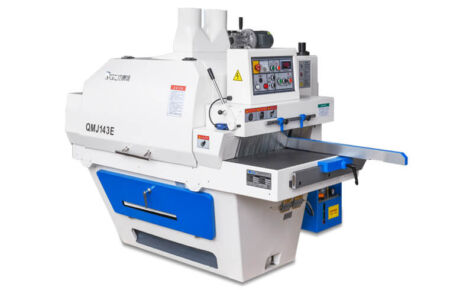
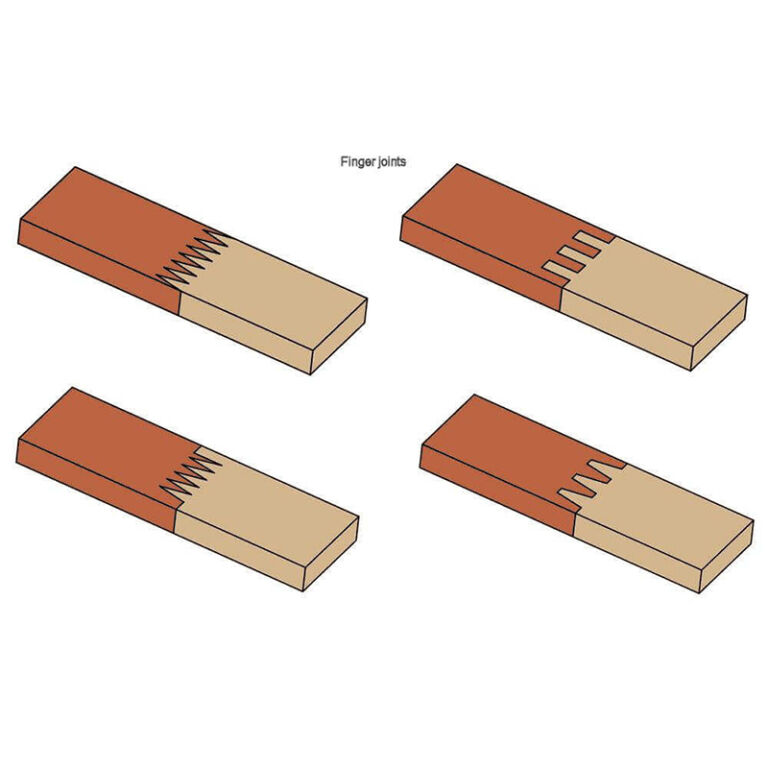
Finger-Joint board, also known as a comb joint board, is a woodworking joint board made by cutting a set of complementary, interlocking profiles in two pieces of wood, which are then glued. The cross-section of the joint resembles the interlocking of fingers between two hands, hence the name “finger joint”. The sides of each profile increases the surface area for gluing, resulting in a strong bond, stronger than a butt joint.
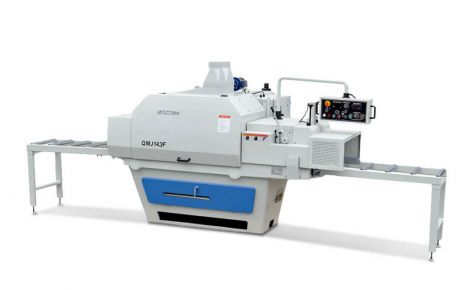
1. Multi-blade rip saw to separate workpieces to small size workpieces. Then, if the board is not so straight, use straight line rip saw to make the board more straight.
2. Use cross cut saw machine, optimizing cross cut saw or optimizing rip saw to remove the defects.
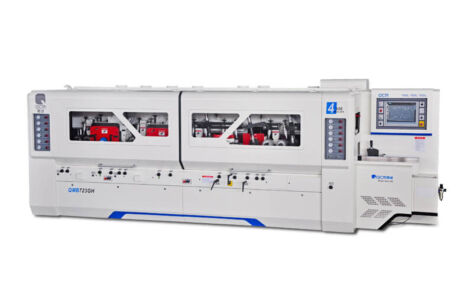
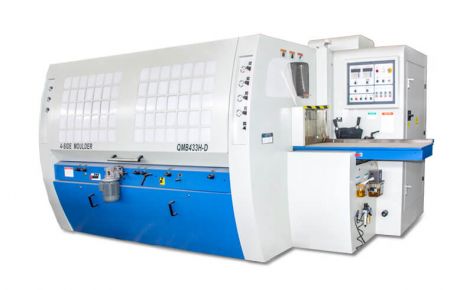
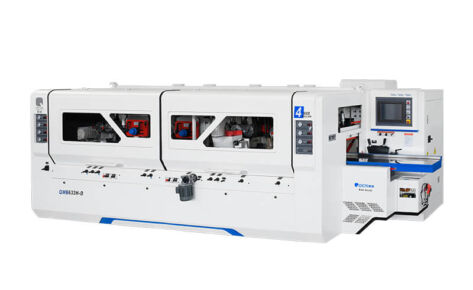
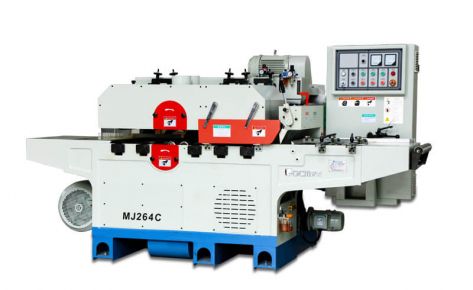
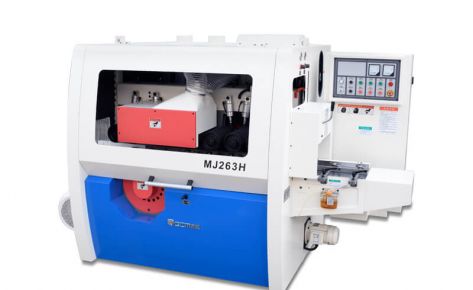
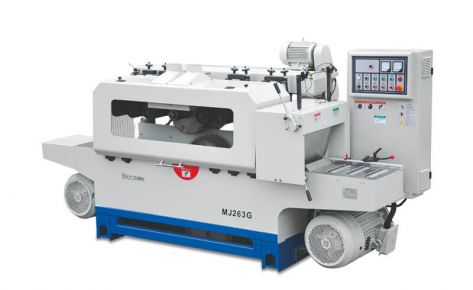
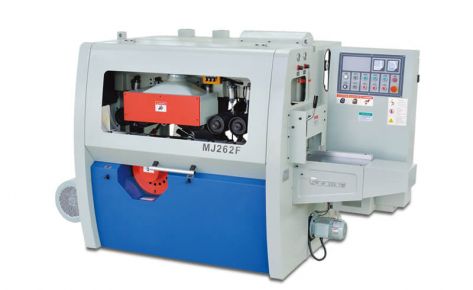
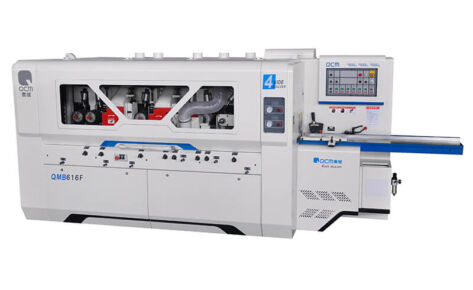
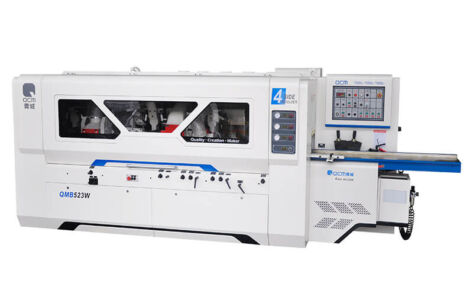
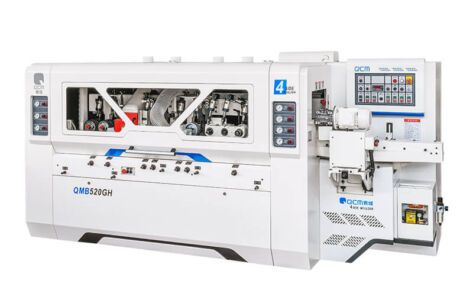
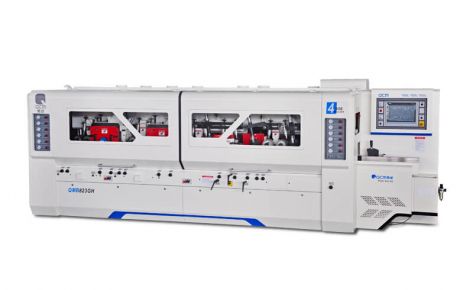
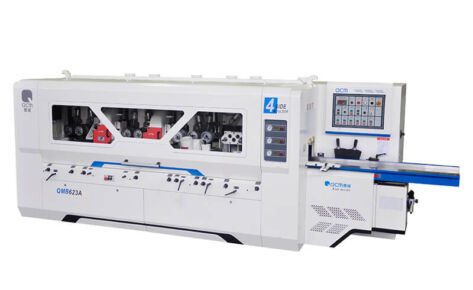
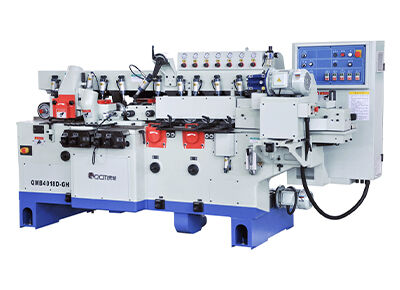
3. Then enter the conveyor and 4 side moulder planer, to make the workpieces sized, and 4 sides planed.
4. After 4 side moulder planer, enter automatic single planer to make the standard base.
5. Enter the thickness planer to make the exact thickness.
6. Enter full automatic finger jointing line, or finger joint shaper machine, then finger joint pressing machine.
Our finger joint shaper machine has automatic gluing or hand gluing.
Finger-jointed plate/board glue process:
End-glued: short lengths are finger-jointed and end-glued only;
End-and edge-glued: Panels made up of random width finger-jointed stock glued edge to edge;
Edge-glued: Panels made of full-length strips glued edge to edge.
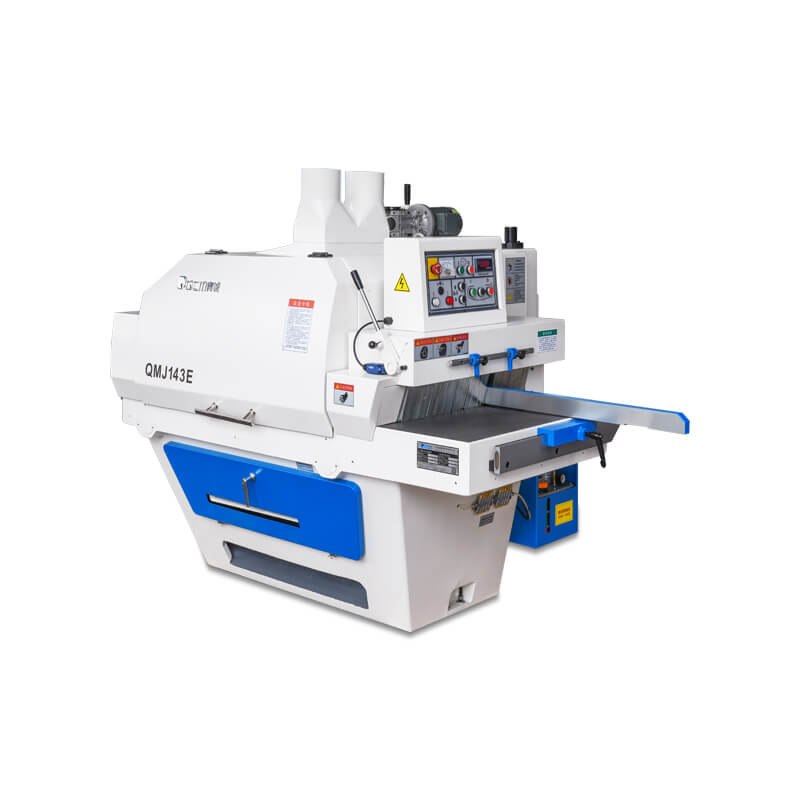
1. Multi-blade Rip Saw
After band saw machine, use multi-blade rip saw to separate big workpiece to small sized workpiece.We have different types of rip saw with working width of 200mm, 300mm, 350mm, 450mm and 500mm. You can choose according your material.

2. Trimming saw
After cutting by multi rip saw or band saw, the board is not so straight, then you need to use trimming saw single chip rip saw to make it more straight.QMJ164A is popular for trimming saw, it has a bottom spindle. Compared with a top spindle rip saw, QMJ164A can get a higher precision and higher productivity, and operation is more safe. For price reason, and if you don't need such a higher precision for the first step, QMJ154D or QMJ153D will be also good choice.
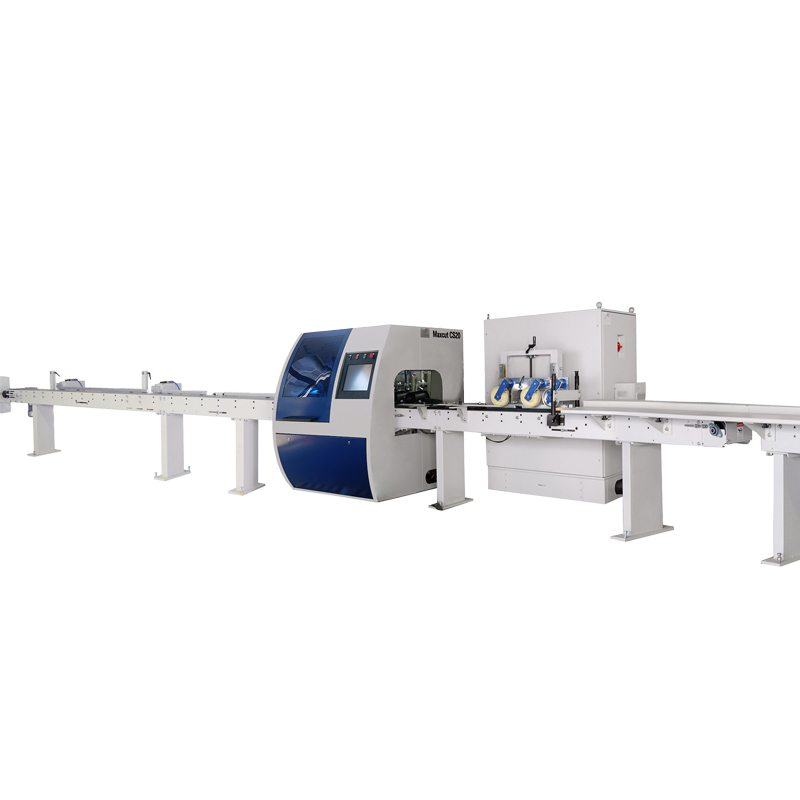
3. Optimizing cross cut saw
After trimming straight line saw, workpieces enter optimizing cross cut saw, which can identify and remove the defects of the fluorescent marking (scarring, cracking, head and tail removal). Sawing is performed after the measurement is optimized, and the cutting accuracy is high. It can reduce the labor cost. And there are many optimization modes, which can be adjusted flexibly according to production.
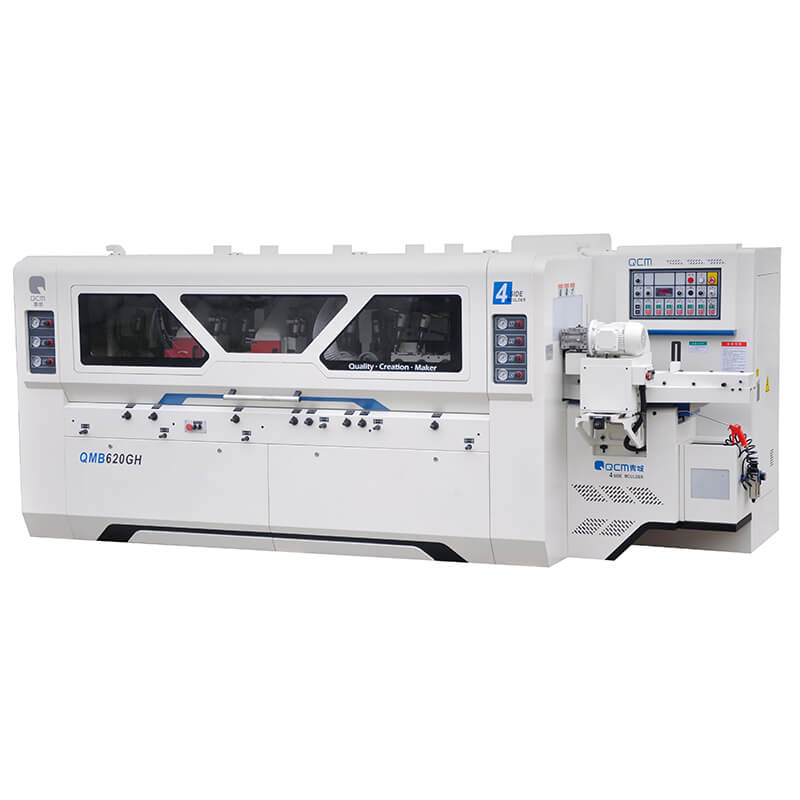
4. 4 side moulder planer
After optimizing cross cut saw or cross cut saw machine, we use 4 side moulder planer to make 4 sides planed, 4 sides clean and sized, which is available for making finger joint board.We have normal speed and high speed 4 side moulder planer, and conveyors can be used to connect optimizing cross cut saw and 4 side moulder planer.
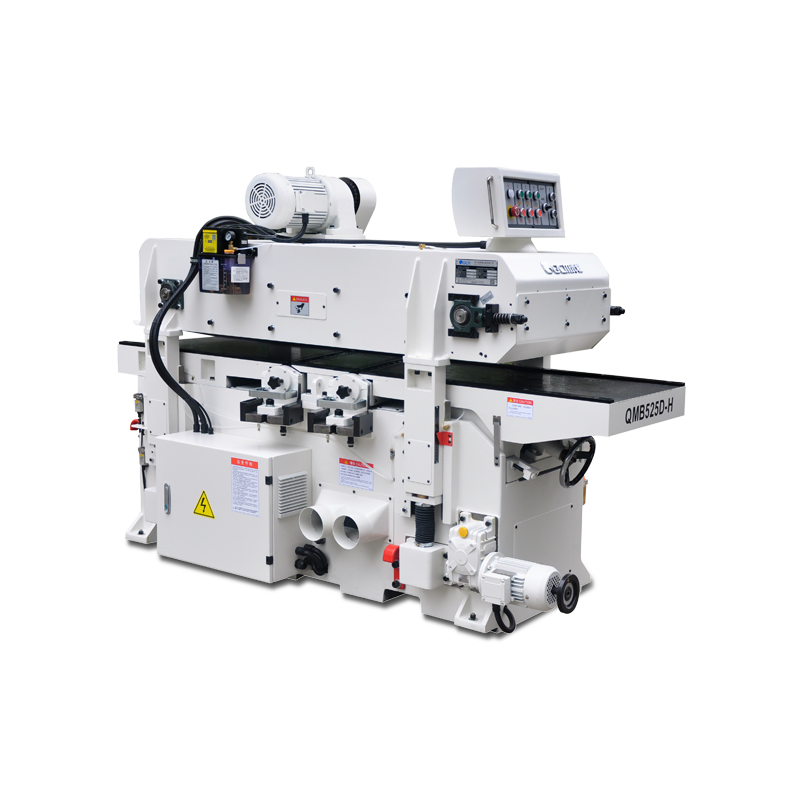
5. automatic single-side planer
After 4 side moulder planer, workpiece enter automatic single-side planer. Our QMB525DH will be your perfect selection to make a flat base. When single side planer make a flat base, then you can start next processing.
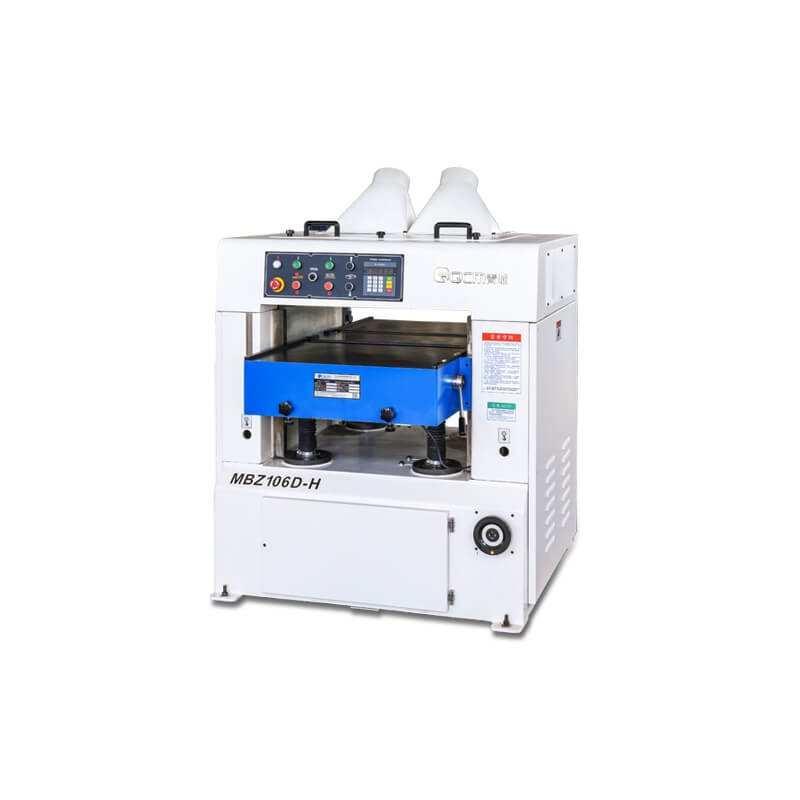
6. automatic single-side planer
After single side planer, workpiece enter thickness planer. Our MBZ106D-H will be your perfect selection to make accurate thickness. After single side planer and you get a flat base, then you can get a high accurate thickness by our thickness planer. Spiral cutter head will be better for both automatic single side wood planer and thickness planer.
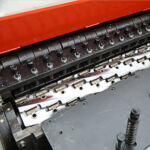
SPIRAL CUTTER
You can select spiral cutter head or ordinary cutter head for double side planer. Spriral cutter is more recommended.
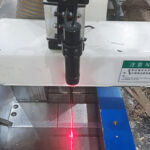
laser
Laser can be selected to help your production, which can make your cutting more straight with higher precision.
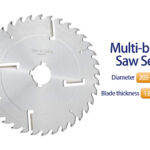
saw blade
Our rip saw has one piece of saw blade as standard configuration. You can buy more to save transport cost.
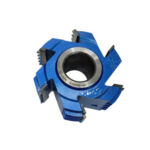
4 side planer cutter
We can make customized cutters for you according to your drawing with detailed dimension.

